Environments is the central area where all the environments are managed. Here it is possible to configure new environments based on the client requirements entirely via Core dna admin, such as creating an additional staging environment for development.
Environments
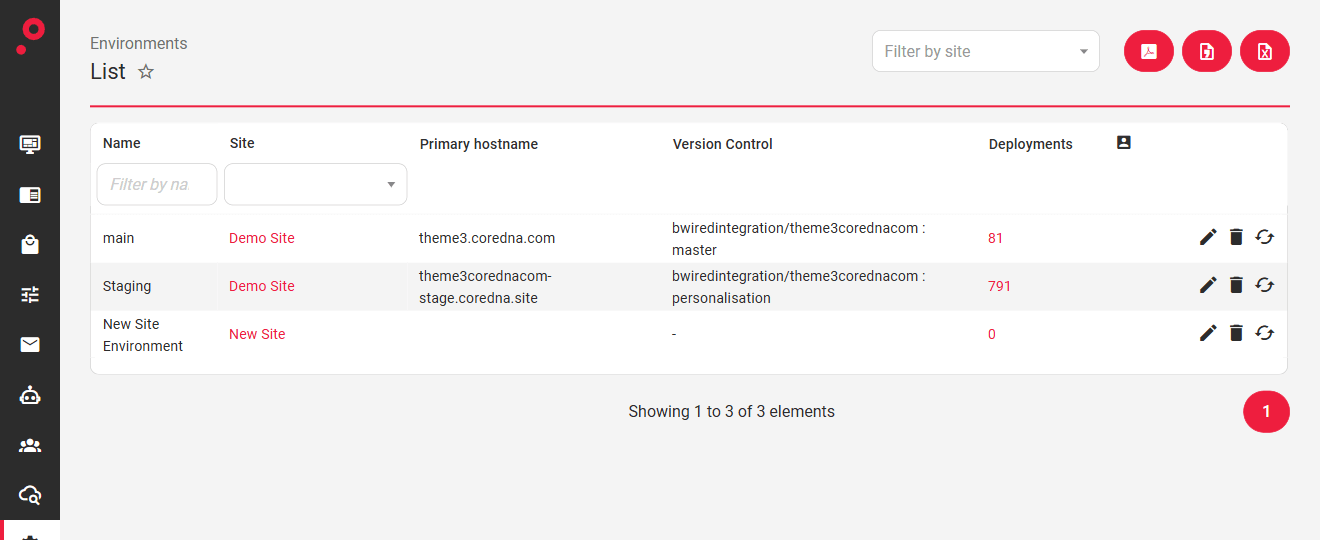
All the existing environments are listed in the main Environments admin page. Each environment can be edited by clicking on the “pencil” icon positioned at the right of each environment record. The other icons on the right hand side of each record perform additional actions:
Remove - remove the existing environment
Clear Cache - clear cache on the existing environment
By editing an environment it is possible to configure them as per the specific requirements, such as defining the:
Primary hostname
Site Path
Version Control Settings
Hostnames
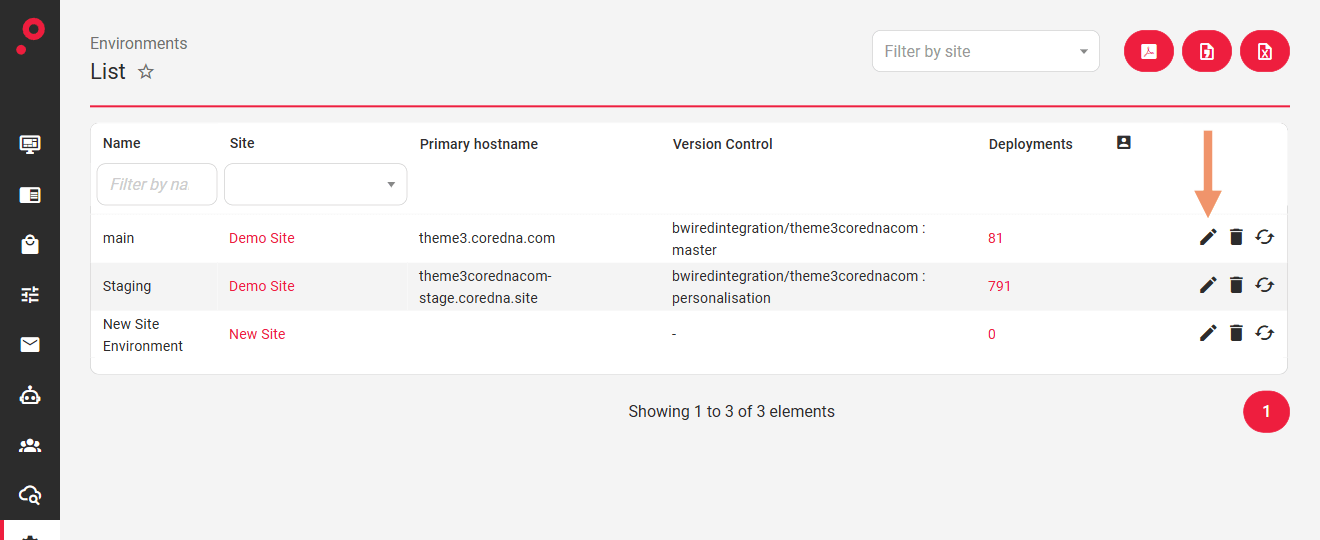
Hostnames assigned to each environment are managed on the environment’s edit page. Click the “pencil” icon on the environment record to open it:
The Hostnames field on the Edit Environment page lists every hostname assigned to the environment, and the Primary hostname is chosen from that list:
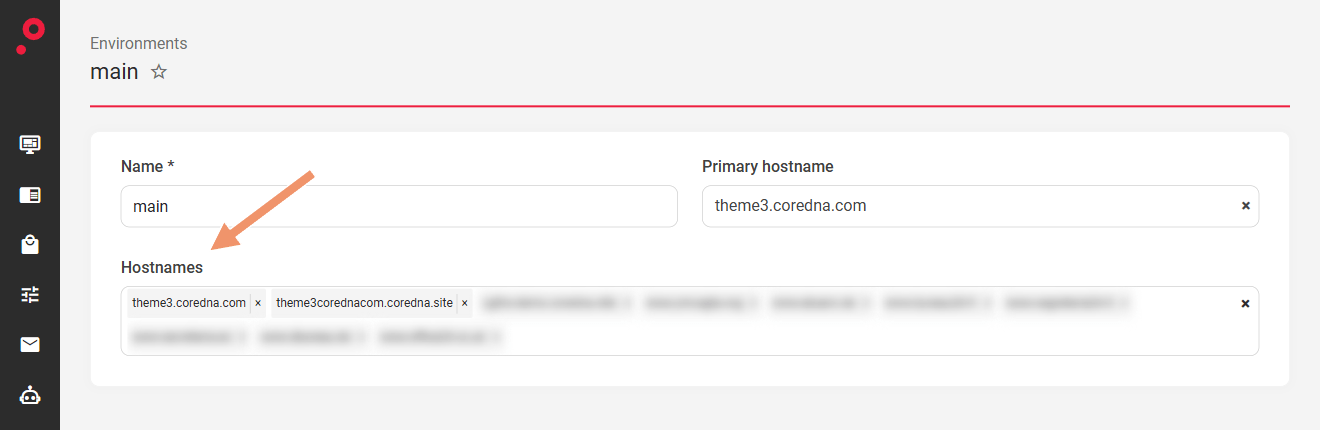
To remove a hostname from the environment click the “×” on its tag.
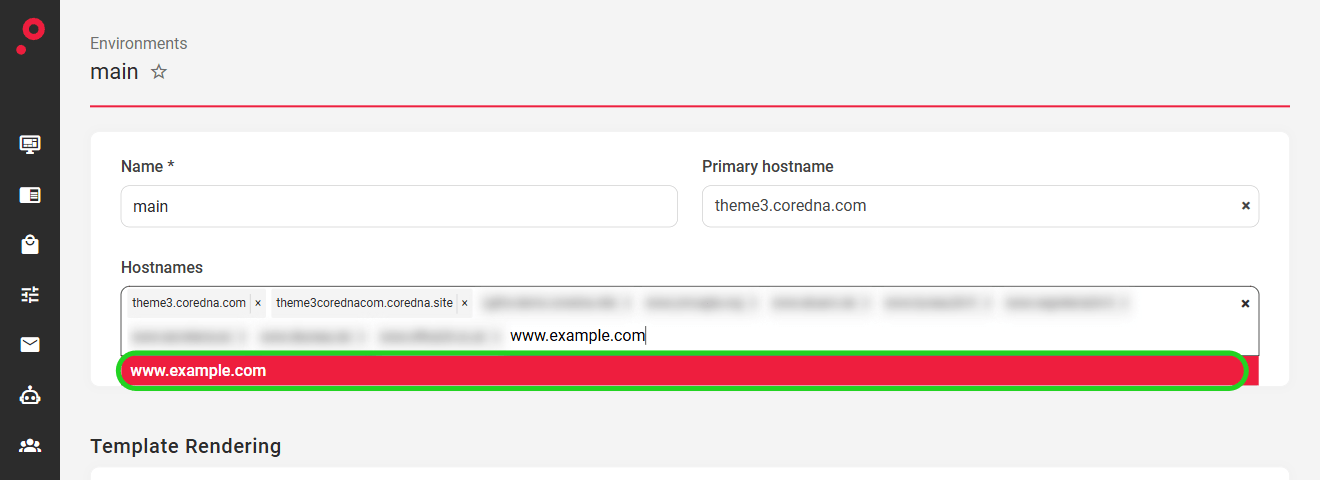
To add a new hostname, type it into the Hostnames field and select it from the list that appears, then save the environment:
Was this page helpful?
Your answer goes to the docs team.